

Hi, Y’all! Did you know it’s Fall Y’all! Yup, the weather has finally turned in Raleigh, NC. To celebrate this colorful season I’ve created this beautiful garden flag using a few simple supplies from the Dollar Store. Scroll down for the full material list.

If you want to watch the tutorial in my Google+ LIVE hangout, view the video below.
We will start promptly at 10am PST (1pm EST). But, don’t fret if you miss it, you will be able to play the video at your convenience later.
(If you are viewing in your email, click HERE to view this post on my website.)
Joining me is the fabulous Sandra of Sawdust & Paper Scraps and Sharon from Mrs. Hine’s Class. It’s going to be a lot of fun so stick around.
If you want to be ready to craft, gather these materials beforehand:
Materials:

- Dollar Store placemat
- Brown, orange & red thread
- Sewing machine*
- Fabric paint
- Paper plate
- Letter stencils
- Stencil brush or pouncing sponge
- Silk leaves
- Glitter paint or glitter glue
- Paint brush
*Optional: hand sew or hot glue if you don’t have a sewing machine
Instructions:
1. Fold over the top of your placemat 2 inches. Stitch across the edge. I used a decorative stitch, but a straight stitch is fine too.

2. Create a stencil using a Silhouette, other craft cutter, or use pre-cut letter stencils. Adhere the stencil to the placemat. (Place centers of letters if needed.)

3. Squeeze out a small amount of fabric paint onto a paper plate.

4. Pounce or use a stencil brush to dab paint over the stencil. For more colorful letters use yellow on one side and orange on the other. Let the colors overlap in the middle.

5. Remove stencil. Allow the fabric paint to dry.

6. Arrange and pin silk leaves onto garden flag.

7. Stitch leaves onto the flag along the “veins”.

8. Trim the excess threads off the flag.

9. Lay flag out on a flat surface.

10. Paint on glittery curly trails to simulate the path of a falling leaf.

When the flag is dry, thread it onto a garden flag stand and place it by your entryway. At the end of the season, store the flag flat to keep it looking fresh for many years to come.

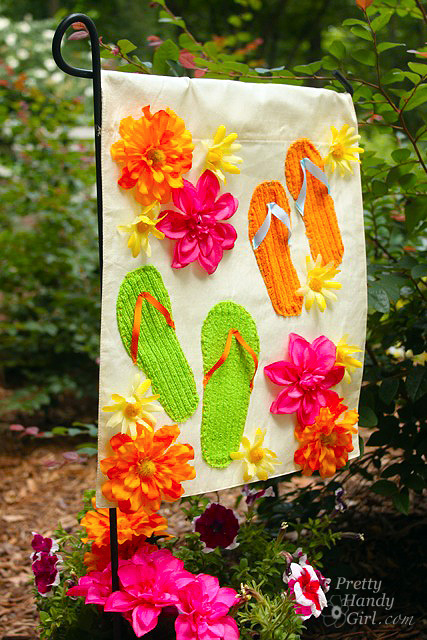
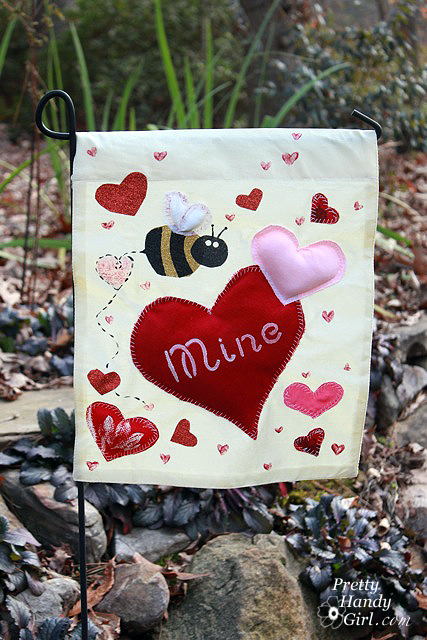
If you liked this tutorial you may like my other garden flag tutorials:

I hope you enjoy this fall season and have a Happy Thanksgiving!

The post Fall Leaves Garden Flag with Google+ LIVE Video Tutorial appeared first on Pretty Handy Girl.